Snap, Click, Transform Your Spaces

Today we dive into Click-Lock Flooring and Wall Panel Systems: Materials and Installation, exploring how modern locking profiles, resilient cores, and thoughtful planning transform chaotic remodels into calm, precise progress. Expect clear guidance, real anecdotes from tricky corners and doorways, and pro-tested tips that balance speed, durability, acoustics, and warranty safety for beautiful results you can proudly live with every day.

How the Mechanism Works

Interlocking edges rely on precisely milled profiles that angle, drop, and audibly snap, creating a floating surface that resists lateral movement while allowing seasonal expansion. Understanding tolerances, expansion gaps, and load transfer prevents squeaks, edge crush, and gaps. I once skipped spacers behind a radiator; the buckled plank taught me patience and the value of a measured, consistent expansion allowance.

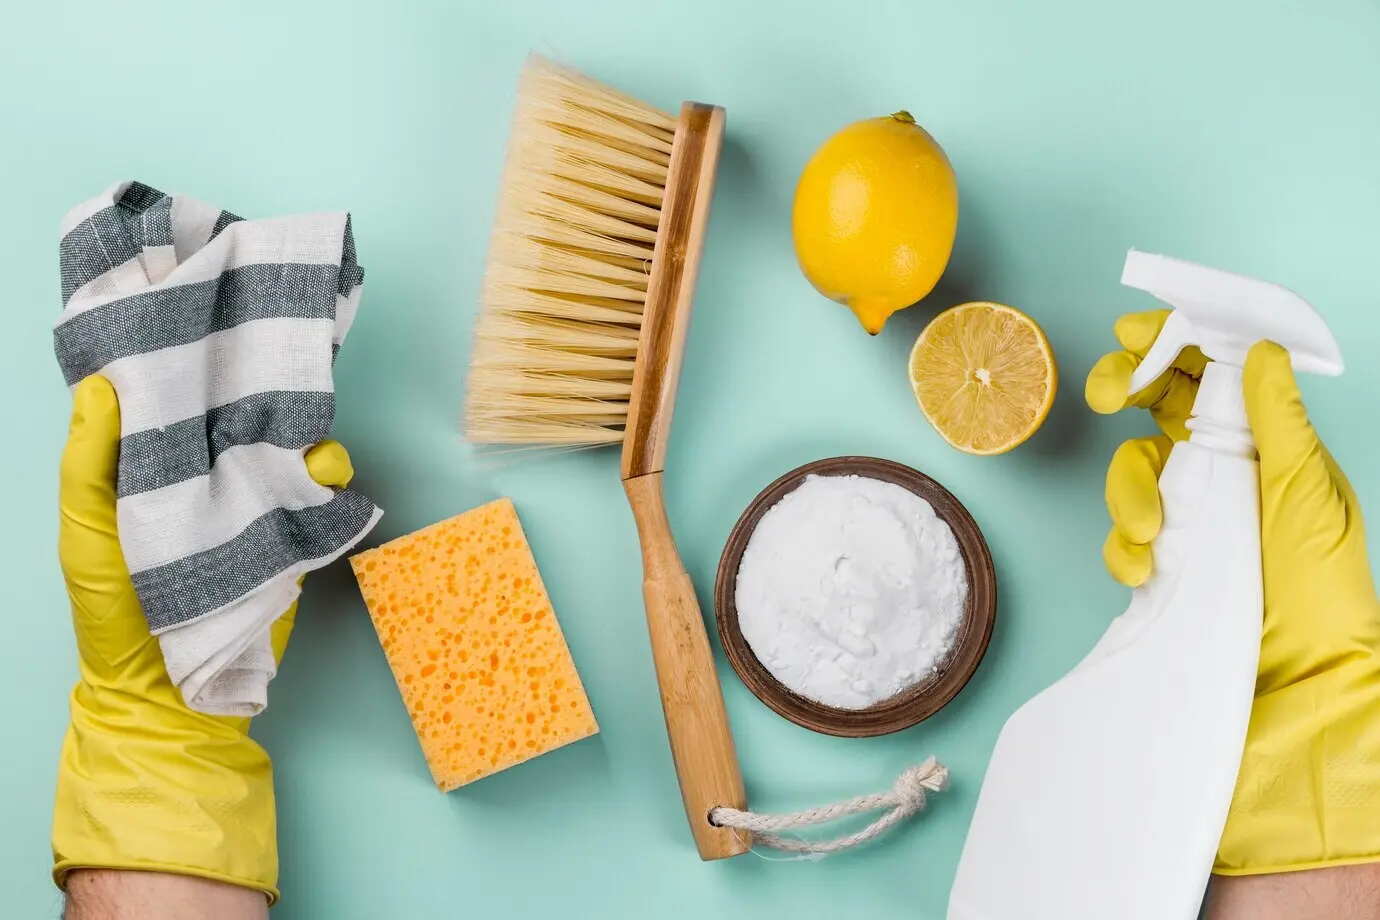
Planning for Seamless Results

Measuring and Waste Factor

Square footage is the start, not the finish. Add ten percent for straightforward rooms, twelve to fifteen for diagonals, herringbone, or multiple doorways. Visualize plank staggering to avoid repeating end seams. Dry lay a few rows to confirm proportions, then adjust starting width. Clear communication with your supplier helps you secure matching dye lots and extra moldings now, not later.

Acclimation and Climate

Square footage is the start, not the finish. Add ten percent for straightforward rooms, twelve to fifteen for diagonals, herringbone, or multiple doorways. Visualize plank staggering to avoid repeating end seams. Dry lay a few rows to confirm proportions, then adjust starting width. Clear communication with your supplier helps you secure matching dye lots and extra moldings now, not later.

Subfloor Readiness

Square footage is the start, not the finish. Add ten percent for straightforward rooms, twelve to fifteen for diagonals, herringbone, or multiple doorways. Visualize plank staggering to avoid repeating end seams. Dry lay a few rows to confirm proportions, then adjust starting width. Clear communication with your supplier helps you secure matching dye lots and extra moldings now, not later.

Installation Steps, Explained

Work left to right unless profiles dictate otherwise. Establish a straight reference line, set spacers, and build stability with complete rows before walking on them. Angle angle long edges, drop lock short ends when applicable, and use tapping blocks carefully. For wall panels, verify fastener or adhesive guidance, find studs, and confirm plumb. Patience pays, especially at door casings and tight alcoves.

First Row Confidence

A straight, unwavering starter row anchors everything. Scribe to wavy walls, rip boards to balanced widths, and align end seams thoughtfully. Use spacers for expansion, and check straightness with a string or laser. Short cut pieces belong on opposite ends each row. Keep a soft pencil handy for marks, and never force a joint; gentle correction prevents crushed lips and hidden creaks.

Around Doors and Obstacles

Undercut jambs so boards slide beneath cleanly, creating a professional reveal without fragile notches. For pipes, drill oversize with centered holes and use color matched filler rings. Appliances need clearance and protective glides, never sitting on floating floors. At stairs, install compatible nosings and transitions precisely. A pull bar and protective scrap prevent damage while tightening joints in narrow, stubborn spots near trim.

Mounting Panels on Walls

Confirm whether the system prefers hidden clips, brad nails into studs, or hybrid adhesive methods. Map studs, snap level lines, and start from the most visible corner. Mind thermal expansion, especially over fireplaces or sunny walls. Use construction adhesive sparingly to allow seasonal movement. Pre fit tricky cuts, support long spans during curing, and finish with aligned trim that frames the entire composition.

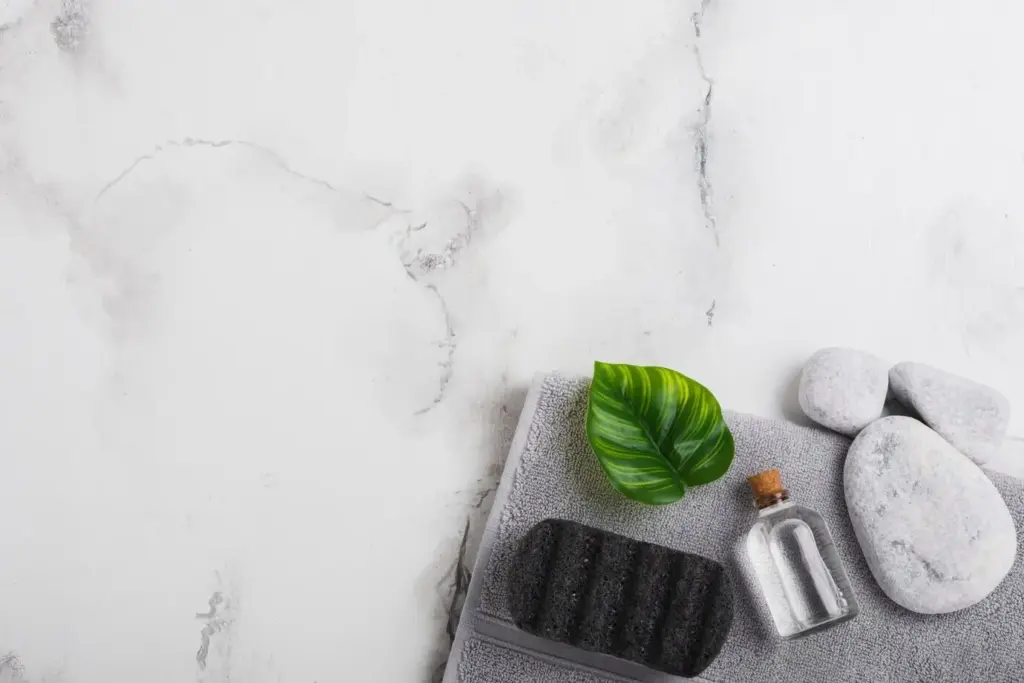
Moisture, Heat, and Sunlight Realities

Water, radiant warmth, and blazing windows challenge even well engineered systems. Choose waterproof or water resistant cores where spills happen, and seal transitions carefully. Keep surface temperatures within manufacturer limits, especially over hydronic or electric heat. Diffuse intense sunlight with shades to limit expansion pressure. Respecting these realities preserves edges, maintains quiet joints, and keeps boards confidently locked through seasonal changes and celebrations.

Care, Repair, and Everyday Living

Small Apartment, Big Upgrade

A reader swapped tired vinyl for a rigid, click connected plank in one afternoon, starting noon and finishing before dinner. Aligning boards with incoming light removed shadowy seam lines, while a slim transition bridged tile cleanly. Integrated underlayment softened footfall, and neighbors noticed the quieter nights. The biggest revelation was planning cuts around door swings, saving three headaches and one emergency snack.

Studio Backdrop With Purpose

Wall panels became both acoustic help and a visual anchor for a home studio. Hidden clips allowed repositioning during a spontaneous gallery wall moment. Staggered seams echoed flooring proportions, tying the spaces together without fuss. A matte finish killed glare on video calls. If you produce content, consider similar textures; they polish your brand while keeping setup quick between creative bursts.

Your Project, Featured Next

Tell us what you are planning, where the tight corners live, and which materials you are weighing. Ask questions about sound ratings, radiant heat, or leveling tricky slabs. Subscribe for fresh guides, then post progress photos and notes. We regularly feature community projects, celebrating wins and sharing fixes. Your insight today could spare someone else a costly, frustrating misstep tomorrow.

Papurunufamika
Privacy Overview

This website uses cookies so that we can provide you with the best user experience possible. Cookie information is stored in your browser and performs functions such as recognising you when you return to our website and helping our team to understand which sections of the website you find most interesting and useful.